Adding Images
Uploading Images
To upload images from a local drive, users must first access a specific event from the Earth science events. Users can then select the upload  button on the event pages. This will pop up a window where the user chooses the file to upload, sets a tag status and provides any metadata.

Figure 14: GeoTIFFs, unzoomed, default settings
All the images will be uploaded to the specific Earth science event pages from which the user began the upload process.
Extracting Images
To extract images, first navigate to the Mapview feature by clicking on  in the left menu. The Mapview feature displays historic and current satellite data products from various instruments. The process for extracting images is defined in more detail in the Using the GeoTIFFs Feature and Selecting Images for Tagging sections.
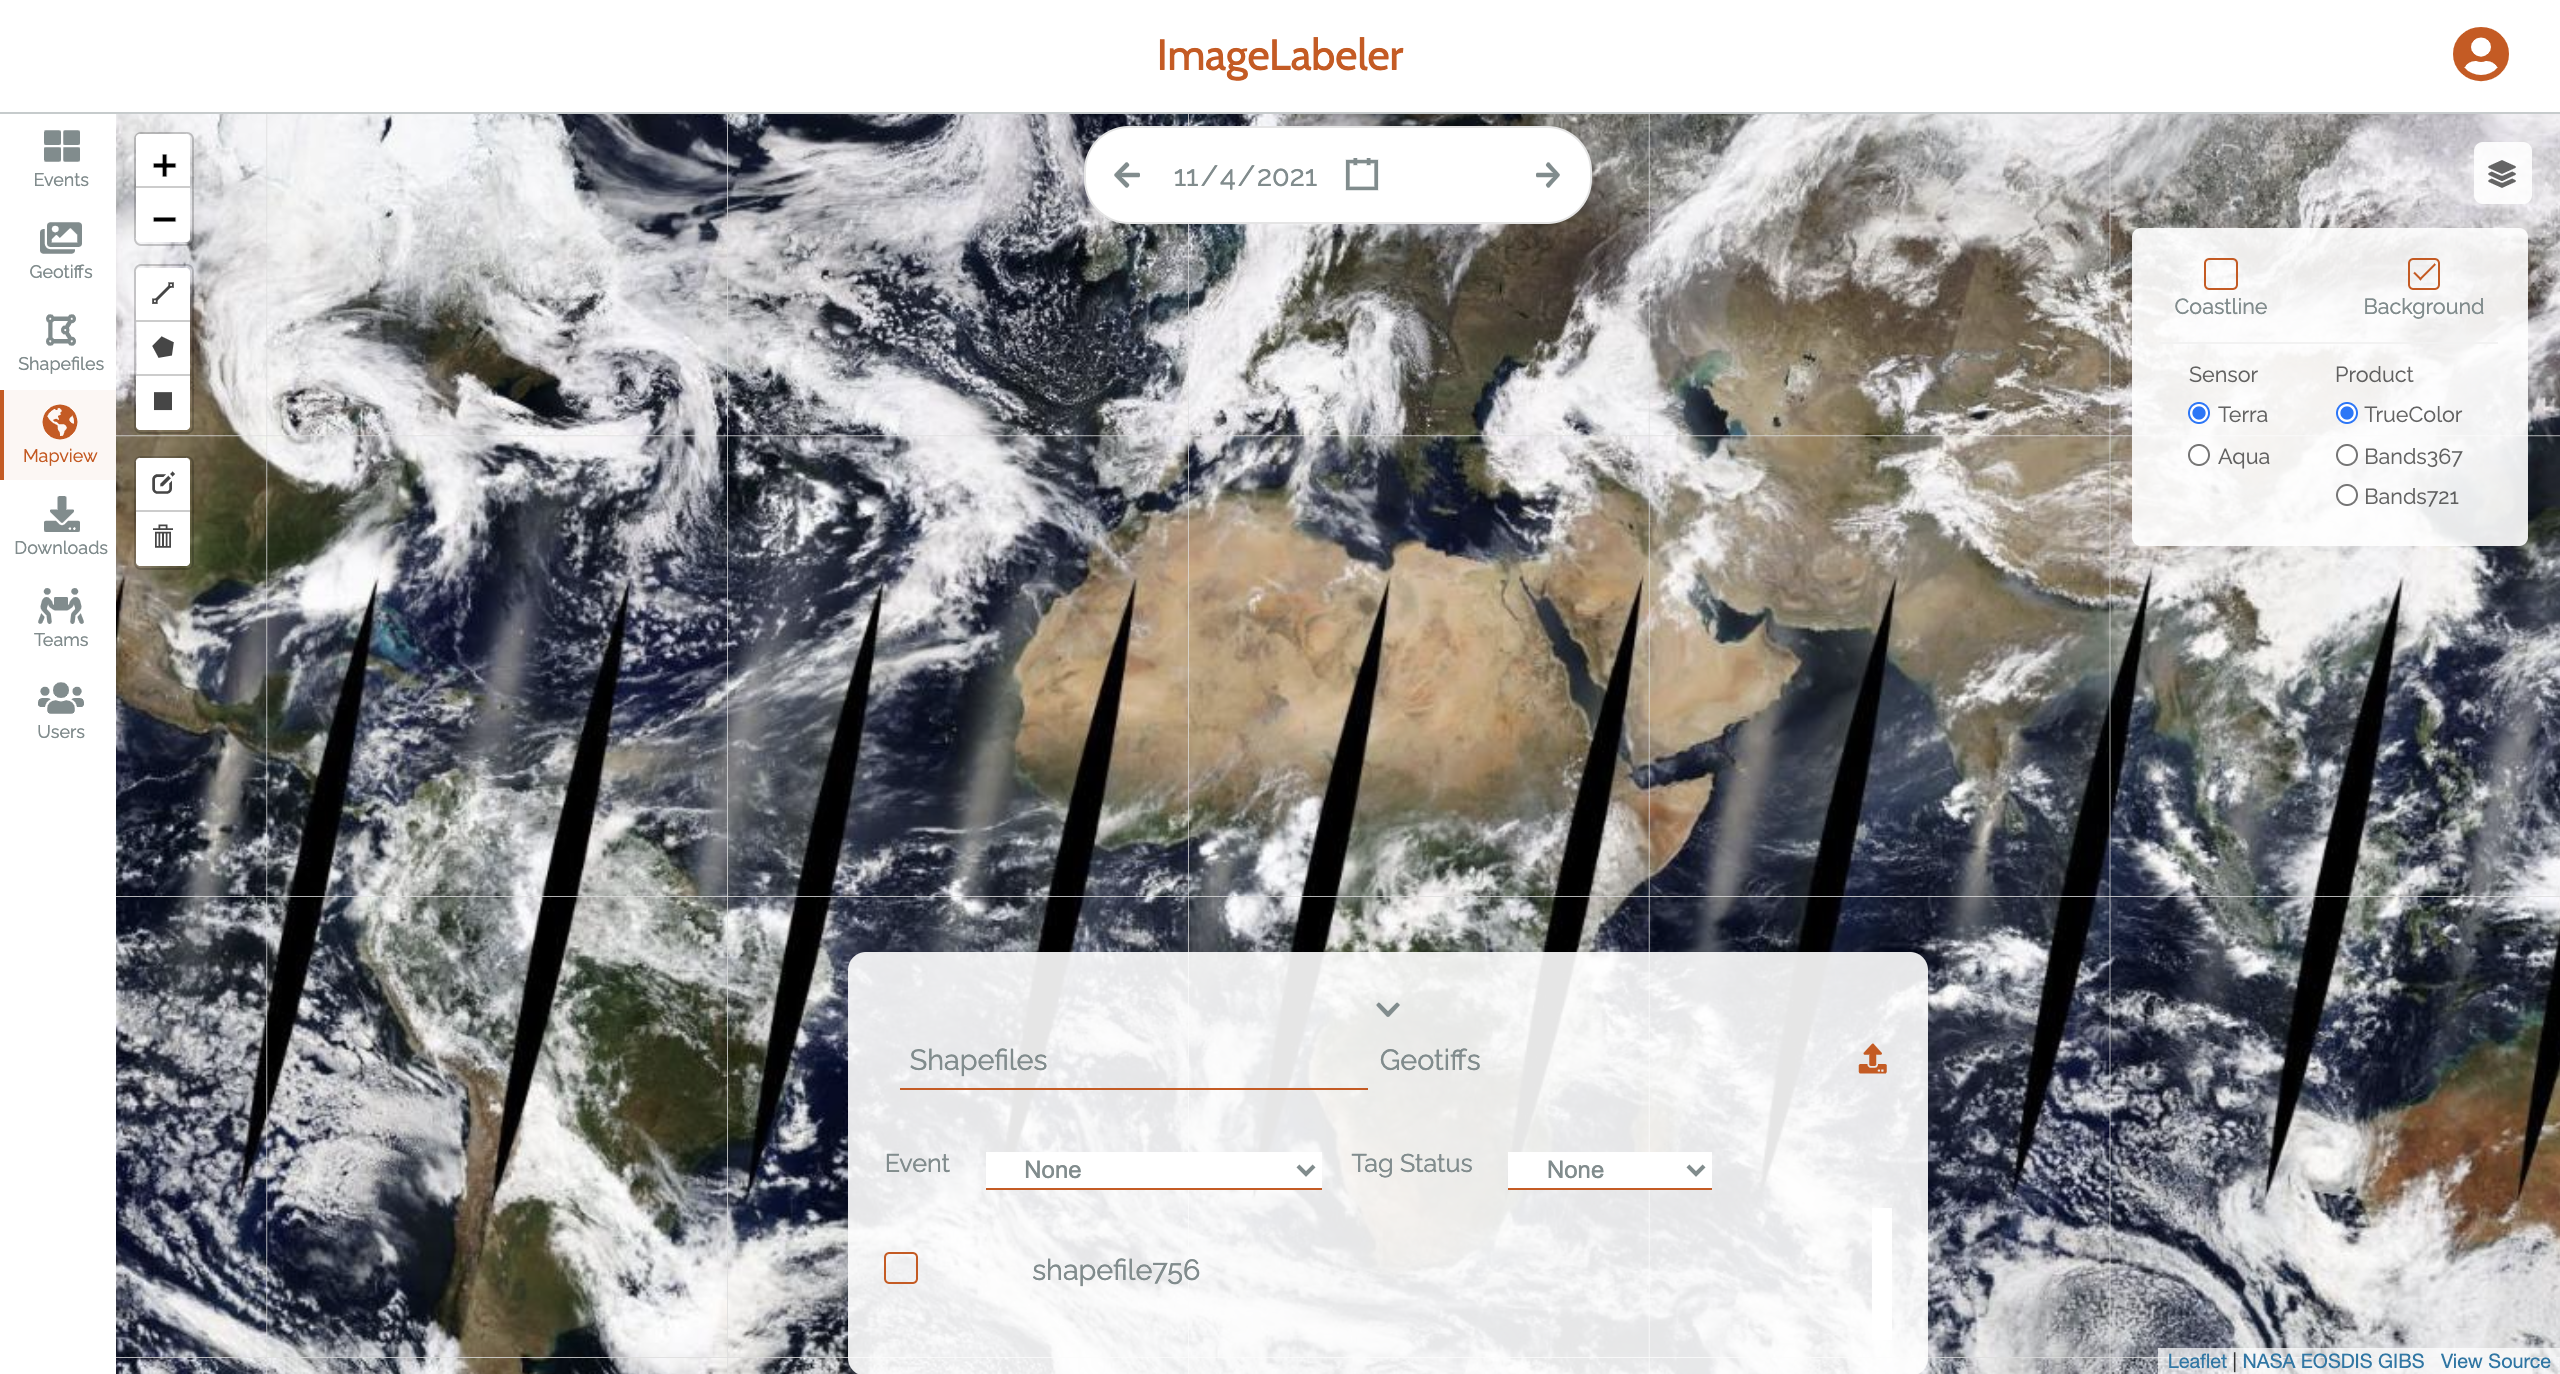
Figure 15: GeoTIFFs, unzoomed, default settings